Deployment in Microsoft 365
Deploying
You must install Microsoft Edge WebView 2 on the client to be able to use the Outlook Add-In. You also need Requirement Set 1.5 or higher. You can find out whether your client supports this by checking your Office version. Also make sure that your Office version supports Webview 2 for using the add-in.
-
You can find instructions from Microsoft on how to check your Office version here: What version of Office am I using?
-
Instructions from Microsoft for checking the compatibility of your Office version with WebView 2 for using the add-in can be found here: Browsers and webview controls used by Office Add-ins
-
Instructions from Microsoft for synchronising the version and the requirement set can be found here: Outlook JavaScript API requirement sets - Office Add-ins
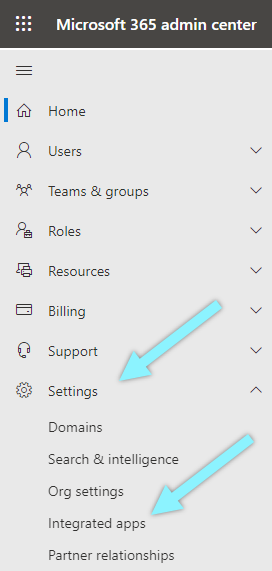
- Open the Microsoft 365 Admin Center.
- Click Show all, then Settings and then Integrated apps.

- Click Add-ins.

- Click Deploy Add-in and then Next.
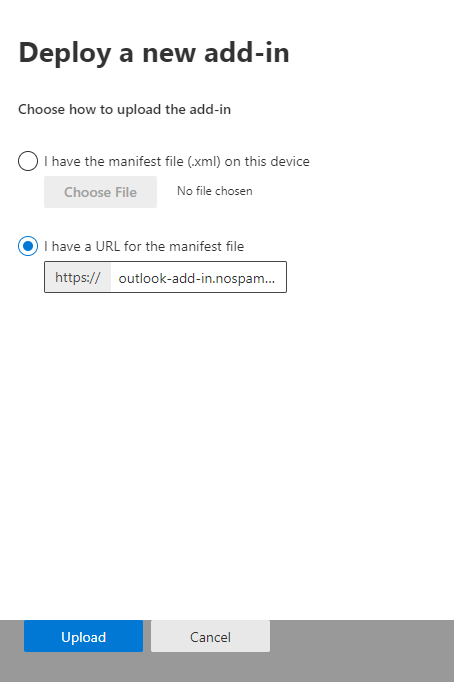
- Click Upload custom apps.
- Select the option I have a URL for the manifest file.

- Enter the following URL into the input field:https://outlook-add-in.nospamproxy.com/manifest.xml
- If necessary, adjust the assignment as well as the deployment method.
- Give the required permissions and click Save.


NOTE: It can take up to 12 hours until the Outlook Add-In is available.
TIP: For more information, see the Microsoft documentation. There you will also find notes on compatibility with your organisation.
Updating
- Open the Microsoft 365 Admin Center.
- Click Show all, then Settings and then Integrated apps.
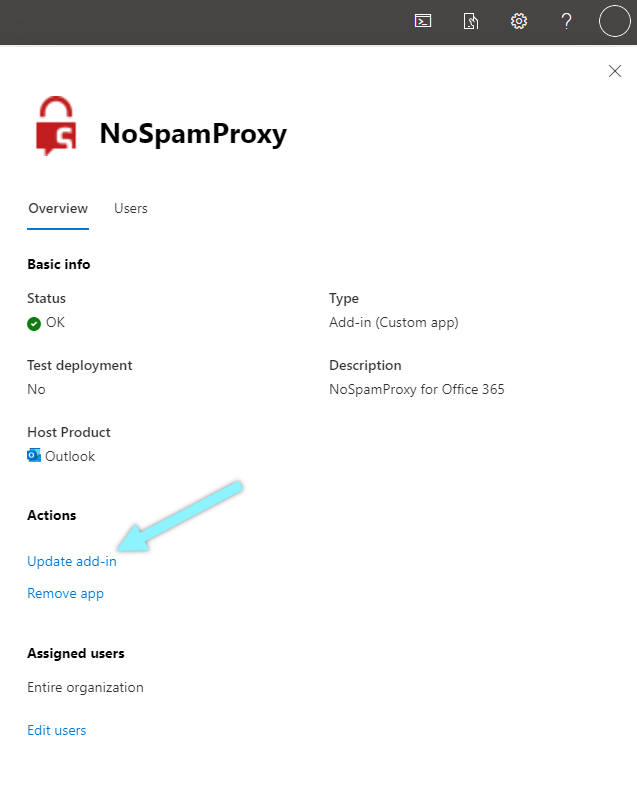
- Click the NoSpamProxy add-in.

- Click Update add-In.

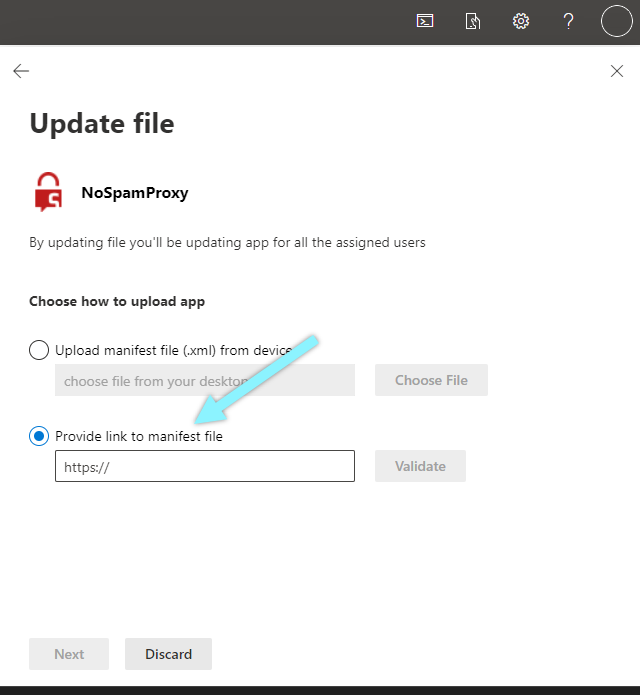
- Select Provide link to manifest file.

- Enter the following URL into the input field:https://outlook-add-in.nospamproxy.com/manifest.xml
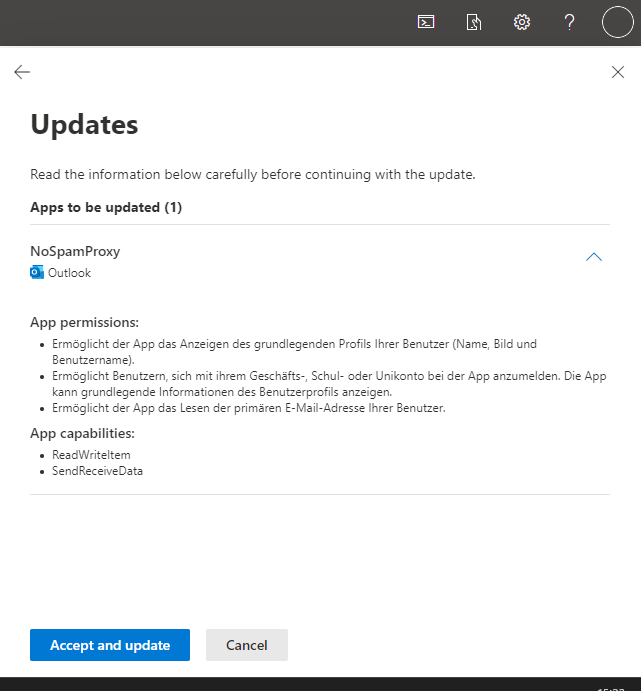
- Click Validate and then Next.

- Click Accept and update.