How to set up database permissions
It is common that not only the user who originally performed the installation needs to perform updates, but also other administrator accounts. To do this, it is necessary to set up the appropriate permissions for these additional users. The corresponding steps are described below:
NOTE:
- All steps apply to all roles of NoSpamProxy; they only differ in the database names.
- Database Intranet Role: NoSpamProxyIntranetRole
- Database Gateway Role: NoSpamProxyGatewayRole
- Database Web Portal: NoSpamProxyWebPortal
- Users and user groups (local or domain) can be registered
- Log on to the system with the user who performed the installation.
- Install the SQL Management Studio.
- Open SQL Management Studio and log on to the local instance that contains the NoSpamProxy database(s), using Windows authentication.
- Expand the Security and Logins folders.
- Right-click the Logins folder.
- Select New Login from the context menu.
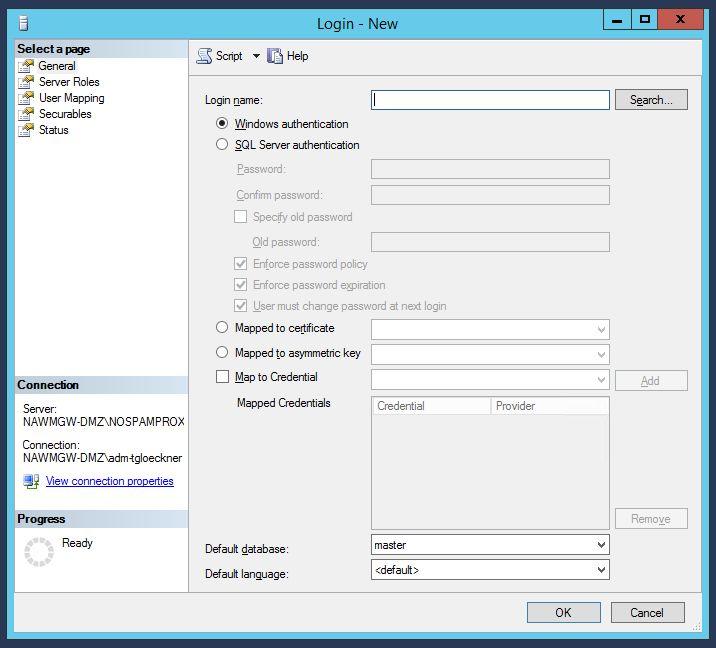
- Under General, select the user to be added.
Keep the item Windows Authentication.
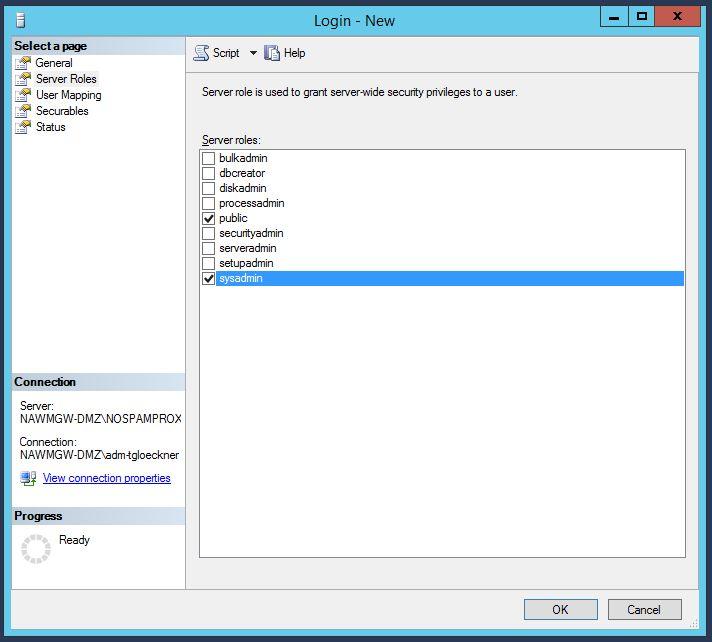
- Under Server Roles, check sysadmin.
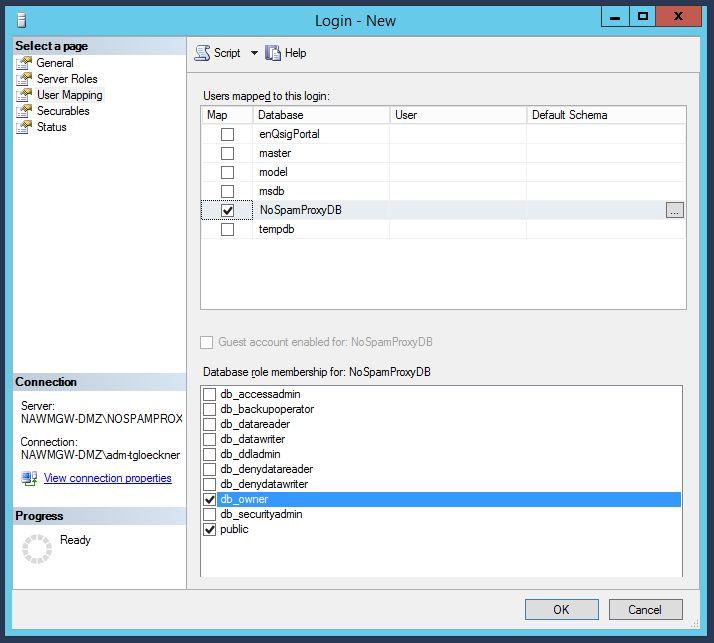
- Under User Mapping, check the box for the corresponding database. Additionally, activate the role db_owner.
- Make further optional settings if required.
- Save the new login and close SQL Management Studio.
To verify access, log on to the system with the added user, open SQL Management Studio and check if you can view the database tables. If this works, access is set up.