Creating an allowlist
To use an allowlist to ensure that emails from certain senders are delivered, proceed as follows:
- Go to Configuration > Rules > Rules and click Add.
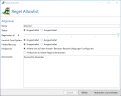
- Give the rule a name (for example Allowlist), enable it, enable Level of Trust as well as content filtering, make the other settings as shown in the image and click Next.
- Tick the check box for Restrict this rule to address patterns or user groups and click Add.
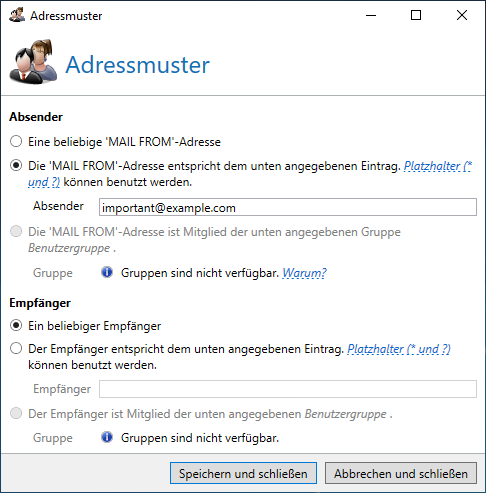
- Under Sender, enter the email address (MAIL FROM) or the address pattern you want to always allow. In the example shown, we only allow the address important@example.com.

- Click Save and close and then Next.
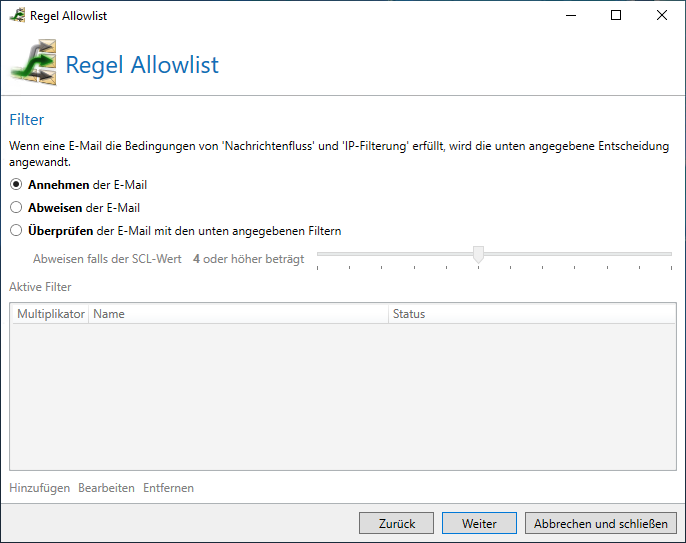
- Leave the settings under IP filtering unchanged, under Filters, select the option Accept the email and click Next.

- Under Actions, click Add and add the action Malware scanner. Select the engines Cyren AntiVirus service as well as File-based virus scanner and select the option Block emails under Behaviour.
-
Under Reject behaviour, select the first option and click Finish.

What you can also do
NoSpamProxy rates an email as trustworthy if one of the bonuses described above is at least 40 points. The prerequisite for this is that the conditions mentioned at Creating an allowlist are fulfilled. If you want to ensure that emails from a specific partner are delivered, set the trust value fixed to 40 or higher.
Video: Creating an allowlist (German only)