Step 1: Preparing placeholders for use in disclaimer templates
Before you can create placeholders, you must create additional user fields. Only then can you use placeholders in the disclaimer templates, because the placeholders are replaced by the values set in the user fields. See Adding additional user fields, Creating templates.
Creating additional user fields globally
- Go to Identities > Additional user fields > Additional user fields.
- Click Add.
- Create the required fields and define default values for the individual fields if required.

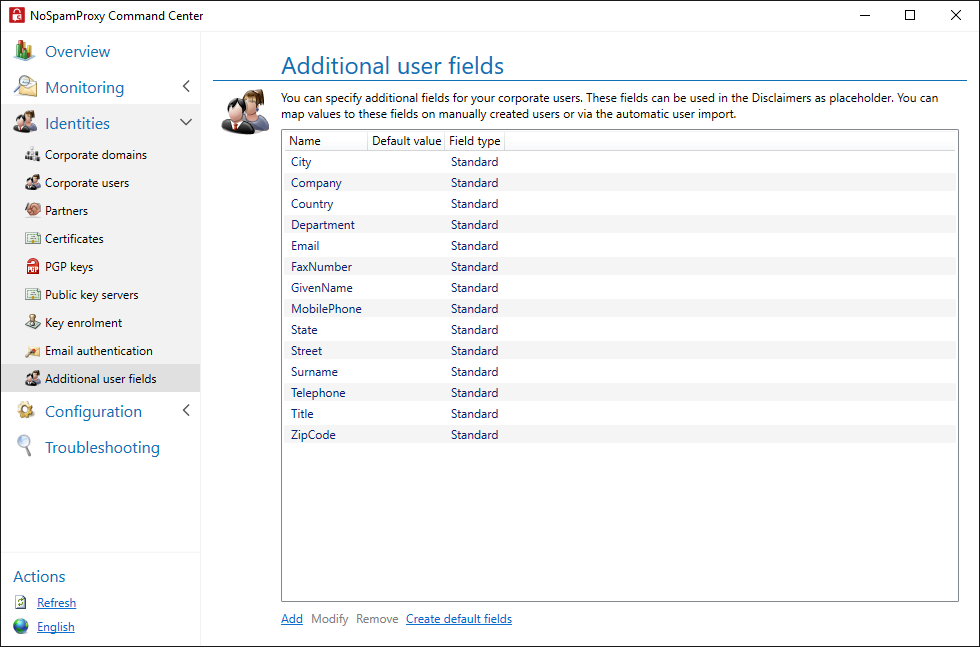
For most applications, it is recommended to select Create default fields. This creates frequently used fields. When the fields are created, the user fields are automatically assigned to Active Directory fields. You can adjust this assignment manually later.
Default values are used if the user is not assigned their own values. In the field for the telephone number, for example, the number of the head office can be entered, in the field for the email address the email address of the head office.
- Placeholders based on custom user fields are represented in the template editor with an asterisk (*), for example [*CustomUserField]. Exceptions are placeholders in templates created with NoSpamProxy version 13.2 or smaller.
- Placeholders based on custom user fields are not localised.
Creating additional user fields during user import
When importing from an Active Directory or a generic LDAP directory, you can fill additional user fields with values from the configured directory. This is useful if you want to personalize Disclaimer templates for your users.
- Go to Identities > Additional user fields > Additional user fields.
- Create your own fields or default user fields.
- Legen Sie während des Benutzerimports fest, aus
welchem Feld des Verzeichnisses die Daten übernommen werden sollen.
NOTE: Für jedes Feld können sie entweder einen Wert aus dem Active Directory zuordnen oder den Standardwert des Feldes übernehmen. Die Werte, die Sie im Active-Directory-Benutzerimport zugeordnet haben, stehen erst beim nächsten Durchlauf dieses Benutzerimports zur Verfügung.