Web App
During setup, the NoSpamProxy Web App is installed as part of the Intranet Role. The Web App offers further functions via a web-based interface, such as additional search options for message tracking. You can also access the Disclaimer configuration. See Web App, Message tracking (Web App).
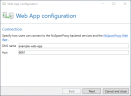
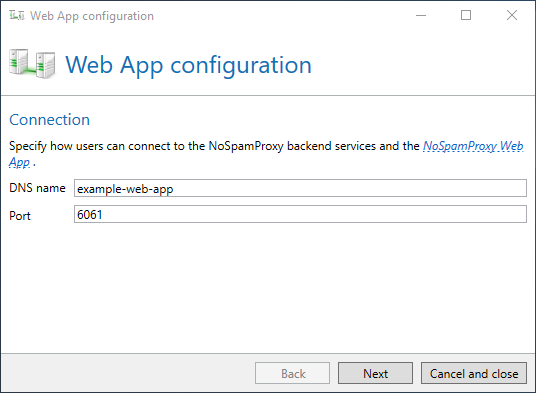
Configuring the connection to the NoSpamProxy Web App
- Go to Configuration > NoSpamProxy Components > NoSpamProxy Web App.
- Click Modify.
- Enter the DNS name and port and click Next.
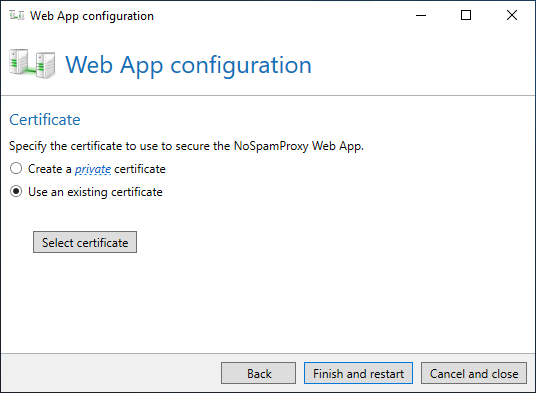
- Do one of the following:
- Create a private certificate.
NOTE: This creates a private certificate for the specified DNS name. You must install the associated root certificate on all computers on which you want to connect to the Web App.
- Use an existing certificate. To do this, click Select certificate, select a certificate from the personal certificate store and click Select and close.

- Create a private certificate.
- Click Finish and restart.
You can configure the connection to the NoSpamProxy Web App using the PowerShell cmdlet Set-NspWebApiConfiguration. Below you will find a description:
General syntax
Set-NspWebApiConfiguration -Port <int> -DnsName <string> -UseHostHeader <bool> -SslCertificateThumbprint <string> -ShowCertificateSelectorUI -CreateNewCertificate <CommonParameters>
Description
Used to configure the connection with the NoSpamProxy Web App.
Procedure
Enter the following command in the command line:
Set-NspWebApiConfiguration -Port <ThePortUsed> -DnsName <TheDNSName> -UseHostHeader true -ShowCertificateSelectorUI
- By setting the value true for the parameter UseHostHeader you configure the use of a host header. This step is optional. The DNS name serves as the host header. See Setting up the multiple assignment of service ports.
- By using the parameter ShowCertificateSelectorUI you determine that a Windows dialogue is displayed with the help of which you can specify the thumbprint of the certificate. Alternatively, you can specify the thumbprint of the certificate via SslCertificateThumbprint or create a new certificate via CreateNewCertificate.
Parameters
-Port <int>
The port to be used for the Web App.
-DnsName <string>
The DNS name used. The DNS name is used as the host header if it is set.
-UseHostHeader <bool>
Determines whether you use a host header.
-SslCertificateTumbprint <string>
The thumbprint of the certificate used.
-ShowCertificateSelectorUI
Determines whether the user interface for selecting the certificate is displayed.
-CreateNewCertificate
Creates a new certificate.
NOTE: After executing the cmdlet, you must restart the NoSpamProxy Command Center.