Presettings
Presettings This section contains global settings that can be used in other areas of the configuration. See .RulesPartnersCorporate users

NOTE: The changes made here also affect existing rules, partners or corporate users. The settings always apply to all configurations in which they are referenced.
Branding
The branding determines the appearance of the emails generated by NoSpamProxy as well as that of the Web Portal.

In most cases you will only need to adjust the accent color and logo to reflect your corporate identity.
The branding is applied to the following elements:
- Web Portal
- All email notifications generated by NoSpamProxy
- The replacement attachment for files sent via Large Files
Word matching
In this area, you have the option of maintaining lists of expressions for which you want to assign positive or negative SCL points using the Word matching filter. The expressions are grouped into individual word groups, which you can use later in the individual rules. For each group of words, you determine whether the corresponding SCL points are to be awarded for the terms. This way you have the possibility to create groups with wanted and unwanted expressions.
Adding a new word group
- Go to Configuration > Presettings > Word matching.
- Click Add.
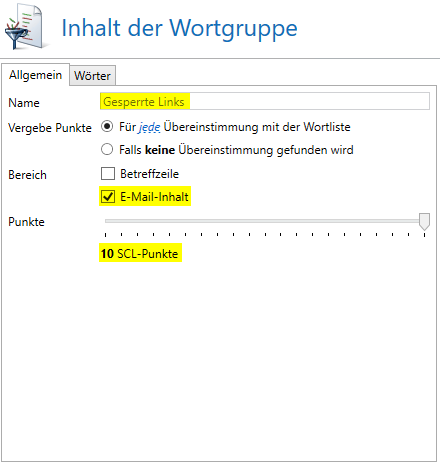
- On the General tab, determine
- the name of the word group,
- whether points are awarded for matches or for non-matches,
- the area to which the phrase is applied and
- the SCL points awarded.

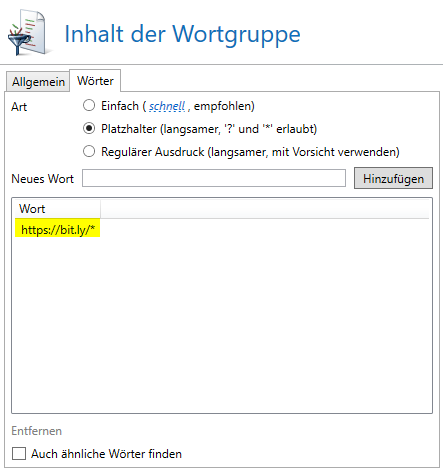
- On the General tab, determine
- whether you want to search for exact matches (simple) or use wildcards or regular expressions,
- the words contained in the word list and
- whether you also want to search for similar words.

- Click Finish.
Realtime block lists
Realtime blocklists (RBL) manage lists of suspicious spam IP addresses. RBLs can be selected individually in the rules.
Adding a new block list
- Go to Configuration > Preferences > Realtime block lists.
- Click Add.
- Under Common Settings, enter a name and description.
- Under Blocklist target, specify
- whether it is an RBL list that is addressed via DNS or HTTP and
- in the Address field either the IP address or the server name of the server to be queried.
- Under Responses, define
- the possible answers of the requested server and their meaning,
- how many SCL points result from it and
- a descriptive error text.
NOTE: A negative value corresponds to bonus points, a positive value corresponds to penalty points. The text of the response may appear in the non-delivery report if the originating server supports this. Thus, the sender of the rejected email knows which blacklist he is on and for what reason. The answer can also be deactivated.
- Click Finish.