Configuring Microsoft 365
In this step, you configure the Office 365 client not to deliver outbound emails directly to the recipient server, but to NoSpamProxy® first. To do this, log in to your Exchange Admin Centre at https://admin.exchange.microsoft.com/.
NOTE: Use a user with administrative rights to log on.
- In the Exchange Admin Centre, go to Mail Flow > Connectors; then click Add Connector.
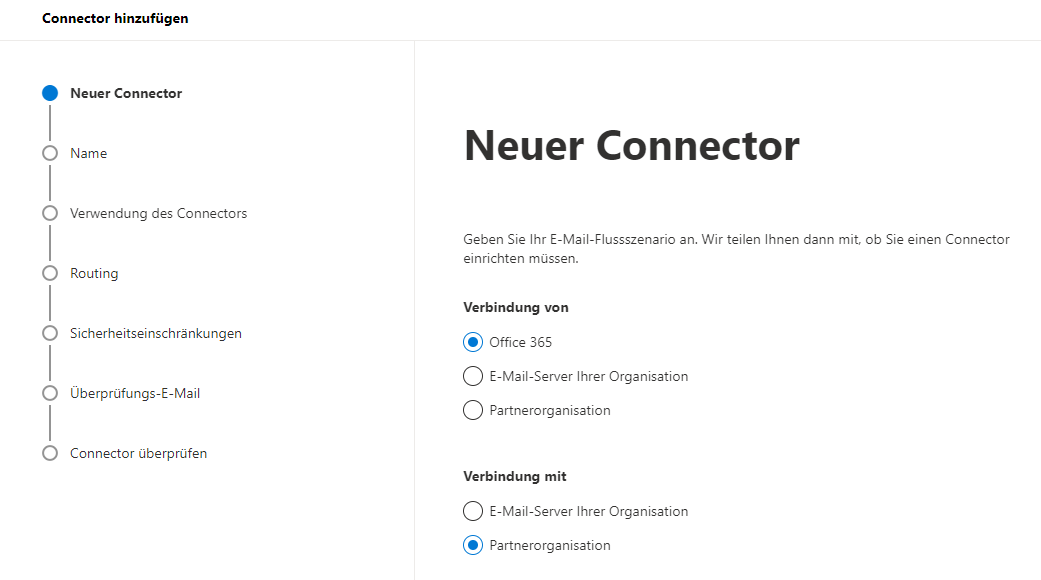
- On the first page, select Office 365 in the From box; then select Partner organization in the To box.
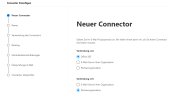
- Click Next.
- On the following page, enter any name for the connector and, if required, a description and click Next.
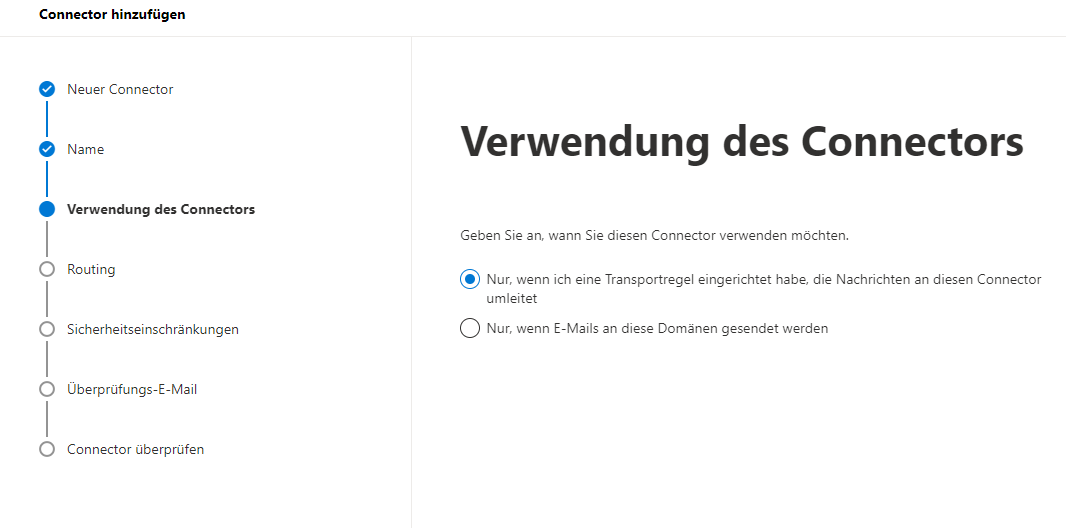
- On the following page, select the option Only if I have set up a transport rule that redirects messages to this connector and click Next.

- Select the option Forward email via these smart hosts, enter the name or IP address of the server (smart host) on which the gateway role is installed and click Save.

NOTE: When entering the host name, note that Microsoft 365 considers the MX records before the A records when resolving. If an MX record exists for the entered host name in addition to an A record, the connector will fall back on the MX record.
- In the following dialog box, enable the option Always use Transport Layer Security (TLS) to secure the connection (recommended). In the dialog box below, select Any digital certificate, including self-signed certificates and click Next.

- Check the summary of your information for accuracy and click Next.
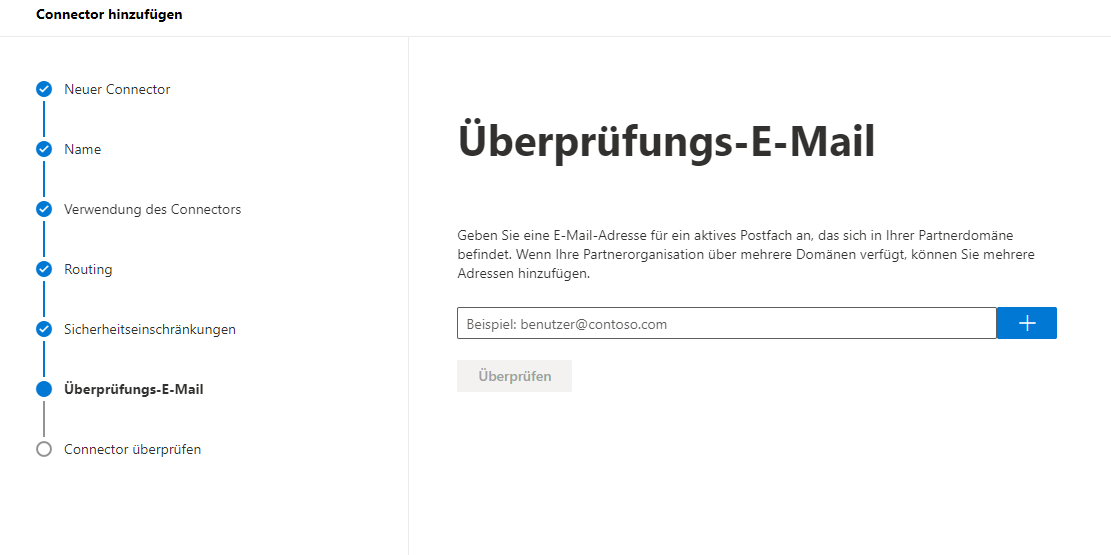
- In the following dialog, enter one or more email addresses that you want to use to verify this connector.

- Click Validate.
NOTE: One or more test messages are now sent. You will receive a check result after the check is completed. The test message usually fails; you can ignore this at first.
- Click Save to close the dialog.


Next steps
Now continue with the following steps:
Using NoSpamProxy in Microsoft 365 with Exchange Online
Necessary configurations for the operation in Microsoft Azure